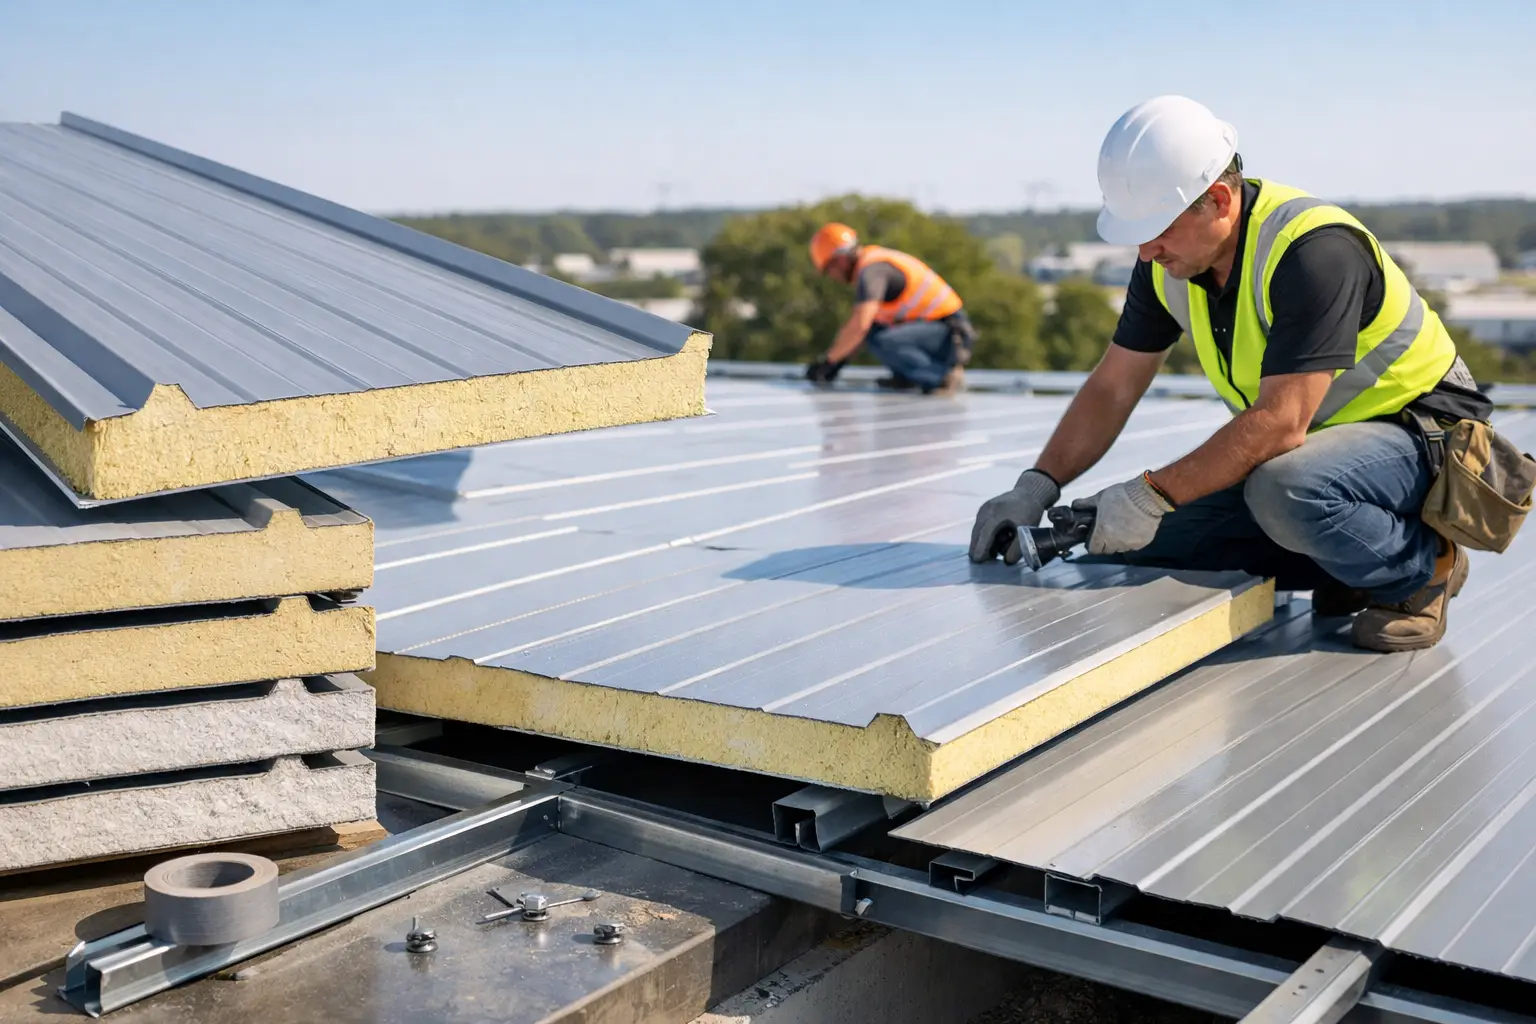
A roof panel can look properly installed from ground level while small errors at the joints, fasteners, or flashings are already creating future maintenance work. PU panel roof installation requires more than placing insulated panels over a steel frame. It depends on correct panel selection, prepared supports, controlled handling, and careful weather sealing at every transition.
For warehouses, factories, prefab buildings, site offices, and other commercial structures, polyurethane insulated roof panels can combine external weather protection, thermal insulation, and an internal finished surface in one roof assembly. The result can be efficient and clean-looking, but only when the installation sequence follows the approved panel layout and project requirements.
Start With the Roof Design and Panel Layout
Before panels arrive on site, confirm the roof slope, building dimensions, purlin layout, panel direction, roof penetrations, and drainage arrangement. These details determine panel length, overlap positions, flashing requirements, and the number of accessories needed. Ordering panels before confirming these points may lead to unnecessary site cutting, material waste, or difficult joint alignment.
The roof slope deserves particular attention. A low-slope roof needs dependable side-lap and end-lap sealing, as water drains more slowly than it does on a steeper roof. The required slope and overlap arrangement should follow the approved design, panel supplier guidance, and local project requirements. Do not assume one panel arrangement suits every building.
Support spacing must also be verified. PU roof panels are installed across purlins or other designed structural supports. If support spacing does not match the panel's approved spanning capacity, the panel may deflect, fasteners may be overstressed, and the roof finish may not remain straight. The structural engineer and project drawings should define the steelwork and purlin system before roofing begins.
A clear panel layout helps the installation team avoid another common problem: narrow cut panels at the final bay. Where possible, set out the roof so full-width panels cover the main area and cut pieces are limited to controlled edge locations. This improves appearance and makes edge flashing easier to install.
Inspect Materials Before Lifting
Insulated panels, flashings, sealants, closures, fasteners, ridge caps, and gutters work as a system. Checking only the roof panels is not enough. Review the delivery against the packing list and separate materials by roof elevation or installation sequence where practical.
Inspect panels for transport damage, moisture exposure, scratches through the coating, bent edges, or damage to the joint profile. Small defects at a male-female joint can make a weather-tight connection harder to achieve. Damaged panels should be assessed before installation rather than forced into position.
Store panels on a stable, raised base with adequate support beneath the bundle. Keep the stack clear of standing water and avoid placing it where site traffic can strike the edges. If panels are temporarily covered, provide ventilation so trapped moisture does not remain against the protective film or coated surface.
Long panels need suitable lifting methods to prevent bending. The lifting plan should account for panel length, bundle weight, wind conditions, and access to the roof. Dragging a panel across another panel or across steel members can damage the coating and joint edges. Workers should lift and place panels carefully, using clean gloves where needed to protect the finished surface.
Prepare the Structure Before PU Panel Roof Installation
Installation should not begin until the roof structure is ready to receive panels. Check that purlins are aligned, level within project tolerances, securely fixed, and free from sharp projections. A misaligned purlin can pull the roof line out of position and make fastening inconsistent across the building.
Confirm the roof is clean and dry. Remove metal swarf, loose fasteners, packaging, and debris from the supports. Metal swarf left on coated sheets can stain the surface over time, while debris at a joint can prevent the panel from seating correctly.
The crew should also review the panel orientation. Roof panels usually have a designated external weather face and an internal liner face. Installing a panel upside down, or reversing a directional side-lap profile, can compromise drainage and create visible inconsistencies. The first panel establishes the line for the entire roof, so its position should be checked against the building grid and eave line before fixing the next panel.
Set the First Panel Accurately
Start from the planned eave and side of the roof, taking account of the prevailing weather exposure and the approved lap direction. Position the first panel square to the eave and perpendicular to the purlins. Measure rather than relying only on the visual line of the steel frame.
Once the first panel is aligned, fix it with the specified self-drilling fasteners and washers at the designated support points. Fastener type, length, quantity, and placement depend on the panel thickness, support material, wind loading, and roof design. Using a fastener that is too short may not provide adequate engagement. Overdriving a fastener can damage the washer or distort the panel skin, while an underdriven fastener may leave an incomplete seal.
Set the driver torque carefully. The washer should compress enough to seal without being crushed or squeezed out of shape. This is a small detail, but hundreds of incorrectly driven fasteners can create a large maintenance risk.
Join Panels Without Forcing the Side Laps
Each subsequent panel should engage fully with the preceding panel along the side joint. Clean the joint profile before closing it, and apply the specified sealing tape or sealant where the installation details require it. Sealants must be compatible with the panel coating and insulation system.
Do not use excessive force to pull panels together. If a panel does not seat properly, check for a bent edge, debris in the joint, incorrect alignment, or a purlin that is out of line. Forcing the lap can deform the profile and leave a gap that is difficult to see after completion.
Panel length affects the approach at end laps. Some roofs use continuous panels from eave to ridge, reducing the number of transverse joints. Where panel lengths require end laps, follow the approved overlap direction, sealant arrangement, fastener pattern, and support detail. End laps are exposed locations and need more attention than a standard side joint.
Keep checking alignment as work progresses. Measure the panel line at regular intervals, especially on long roof slopes. Correcting a slight drift early is straightforward. Correcting it after several panels are fixed may require removing and refitting completed work.
Treat Flashings and Penetrations as Critical Details
Most water-entry problems occur at edges, openings, and changes in roof direction, not in the center of an undisturbed panel. Eave flashings, verge flashings, ridge caps, gutters, pipe boots, curb flashings, and closures must be installed as coordinated components rather than added after the main roof is finished.
At the eave, the panel should discharge water into the gutter system as designed. At the ridge, closure pieces and ridge flashings should prevent wind-driven rain, dust, and insects from entering the roof cavity while allowing the intended roof profile to remain protected.
Roof penetrations for ducts, pipes, skylights, or equipment curbs require approved details. Cutting an opening without reinforcing the surrounding support arrangement or providing suitable flashing can weaken the assembly and create leakage paths. Coordinate penetrations before the panel installation whenever possible. Late changes are usually more costly and less tidy.
Complete Quality Checks Before Handover
A final inspection should cover panel alignment, fastener lines, side joints, end laps, flashings, gutters, closures, and sealant continuity. Remove protective film promptly in line with the product guidance, particularly where sunlight and heat can make it difficult to remove later. Clean away swarf and construction debris from the roof surface.
It is also sensible to record the panel type, coating finish, accessories used, and any approved site modifications for the project file. These records support future maintenance and make it easier to match materials if an extension or repair is needed.
For projects in the UAE, roofing materials should be selected with the building use, solar exposure, environmental conditions, and installation program in mind. MetalSpan Trading FZE LLC supplies PU insulated panels and the related roofing accessories needed to support coordinated procurement for commercial and industrial projects.
A well-installed PU panel roof is not defined by speed alone. It is defined by a straight panel line, secure fixing, sealed joints, properly finished edges, and materials that match the approved roof design. Confirm those details early, and the installation team can work with greater control from the first panel to the final ridge cap.