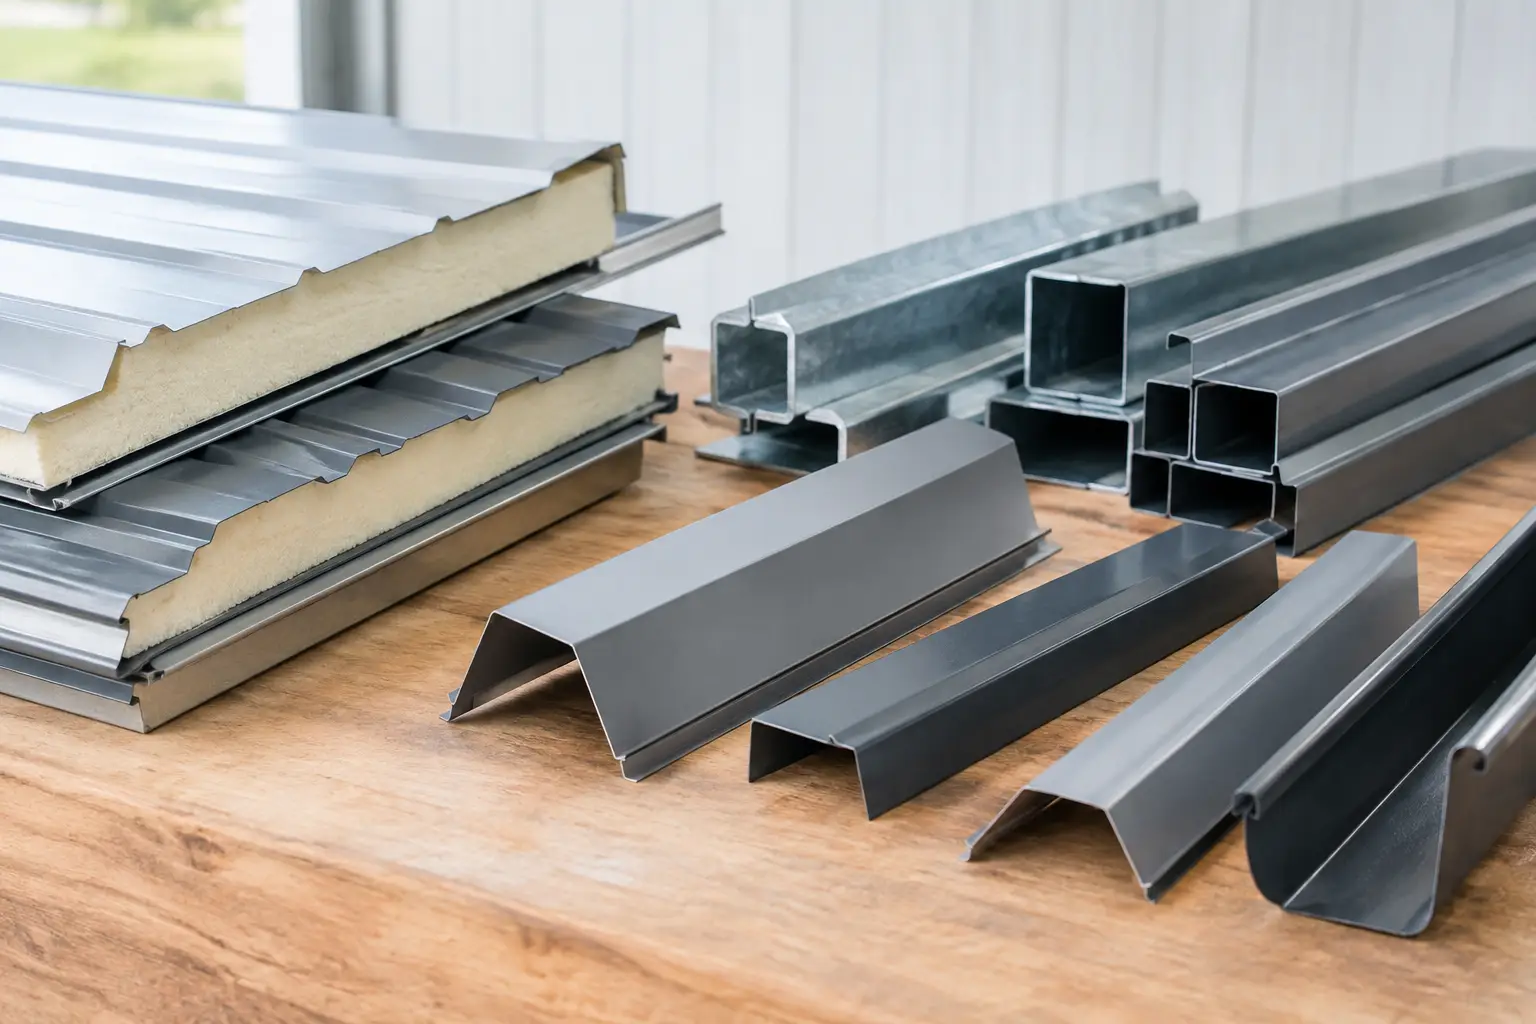
A flashing that is 20 mm short at a roof-to-wall junction can leave a visible gap, complicate installation, and create unnecessary site rework. Knowing how to order custom flashings before materials are fabricated helps contractors and project managers receive parts that fit the actual panel, sheet, and structural conditions on site.
Custom flashings are not simply folded metal strips. They finish exposed edges, direct water away from joints, protect insulation cores, and create a clean transition between roofing, wall cladding, gutters, openings, and parapets. The correct order starts with clear drawings and measurements, then confirms the material, finish, quantity, and delivery requirements.
How to Order Custom Flashings With Fewer Errors
The best custom flashing order gives the supplier enough information to understand both the shape required and where it will be installed. A dimension without context can be interpreted incorrectly. For example, an outside corner flashing, internal corner, ridge cap, barge flashing, head flashing, sill flashing, and apron flashing may all use similar bends but serve different functions.
Start by identifying the application. State whether the flashing is for a sandwich panel roof, single-skin roofing sheet, wall cladding, cold room panel, gutter connection, door opening, window opening, or another project detail. Include the panel or sheet profile where relevant, because corrugation depth, rib spacing, and panel thickness affect the fit.
A supplier can help review an order, but the final dimensions should reflect approved project drawings and site conditions. This is particularly important where steel structures have tolerances, roof slopes vary, or adjacent materials are supplied by different parties.
Provide a Clear Profile Drawing
A simple section sketch is the most useful document in a custom flashing inquiry. It does not need to be a complex engineering drawing, but it should show the folded profile clearly. Hand sketches can be suitable when they are legible and fully dimensioned.
Show each face of the flashing and label every required measurement in millimeters. Identify the visible face, the fixing face, folds, hems, drip edges, returns, and overlaps. If the flashing must follow a slope, include the slope or relevant angle. For curved or nonstandard shapes, provide a template or a detailed drawing whenever possible.
Dimensions should be taken from the finished profile, not from an assumed flat sheet width. The flat development depends on bend allowances, material thickness, and the folding method. Your supplier can calculate the developed width once the finished profile is confirmed.
Include These Details on the Sketch
For most orders, the sketch should show overall girth, individual leg lengths, bend angles, return folds, and the required length of each piece. It should also state which side faces outward. This avoids a common error: receiving a correctly sized profile folded in the opposite direction.
If one flashing is intended to cover another, show the overlap dimension. A practical overlap supports water management and allows installation adjustments, but the required amount depends on roof pitch, exposure, profile type, and fixing arrangement. Do not assume one overlap suits every detail.
Confirm Material, Thickness, and Finish
Flashings should generally match or complement the roofing or wall cladding system in both material and appearance. For coated steel roofing and cladding, customers commonly specify pre-painted galvanized steel or pre-painted aluminum-zinc coated steel, depending on the project requirement and available system materials.
State the required base metal, coating type, thickness, and color reference if available. Color names alone can be unclear between product ranges, so a recognized color code or physical sample is preferable when visual matching is important. For projects with existing panels, confirm whether the new flashing must match the installed material or a new panel batch.
Thickness is a balance between formability, appearance, durability expectations, and cost. A thicker sheet may be appropriate for longer, wider, or more exposed profiles, while a thinner material may suit smaller trim details. The selected thickness should also work with the roofing or cladding sheet and the intended fasteners. Avoid specifying a thickness based only on what was used on a previous project without checking the present application.
Finish direction can matter as well. Where sheets have a particular paint finish, protective film, or visible surface requirement, state which face will be exposed after folding. This is especially useful for prominent fascia, parapet, and external corner details.
Measure Lengths and Plan for Installation
Custom flashings are commonly supplied in practical standard lengths or project-specific lengths. Longer pieces reduce the number of joints and can improve the visual result, but they also require more careful handling, transport, lifting, and installation. Shorter pieces are easier to move in restricted areas but create more laps and potential installation time.
Confirm the maximum practical length based on site access, storage space, roof height, and the ability of the installation team to handle the material safely. For a warehouse roof, the preferred length may differ from a compact prefab unit or a cold storage enclosure with limited access.
Calculate quantities from the actual run length, then allow for the required laps, end closures, corners, and cutting waste. A 30-meter edge does not always require exactly 30 meters of flashing. If pieces overlap, the installed coverage per piece will be less than its supplied length.
Separate different profiles into individual line items, even when they use the same color and material. Give every flashing a reference name or code that matches the drawing, such as RF-01 for ridge flashing or WC-02 for wall corner flashing. Clear identification simplifies quotation, production checks, site receiving, and installation.
Check Interfaces Before Releasing the Order
Flashings work as part of a system. Before confirming the order, check how each piece interfaces with panels, sheets, insulation, purlins, gutters, sealants, closure strips, and fasteners. A profile that looks correct in isolation may not leave enough space for a fixing screw or may interfere with a panel rib.
Roof penetrations, parapets, skylight curbs, door headers, and changes in roof direction deserve extra attention. These are often the details where standard trim is not sufficient and custom fabrication provides a better fit. Ask whether additional closures, sealants, or support members are needed, but keep in mind that flashing design and site waterproofing practices must follow the project specification and installer’s method statement.
For insulated sandwich panel systems, confirm the panel thickness and joint arrangement. The flashing must cover exposed insulation and maintain a neat finish without crushing panel edges or creating an awkward fixing detail. Cold room and cold store applications may also require closer coordination around panel joints, hygiene requirements, and vapor-control detailing.
Send a Complete Request for Quotation
A complete request saves time and helps suppliers price accurately. Along with the profile drawing, provide the total quantity, piece lengths, material and color requirements, project location, required delivery timeframe, and any packaging or labeling needs.
Where multiple flashing types are involved, a schedule is useful. It can list the reference code, description, profile size, length, quantity, material, color, and installation area. This is more reliable than sending measurements across several messages, particularly for larger roofing and cladding packages.
Before approving the quotation or production details, review the profile drawing, lengths, quantities, and finish one more time with the site team. Changes after folding can affect cost and lead time, while a quick pre-order check is usually straightforward.
Common Ordering Mistakes to Avoid
The most frequent issue is ordering based on a verbal description only. Terms such as “corner trim” or “roof flashing” are too broad when several profiles are used on the same building. Another common mistake is measuring only the visible face and overlooking the fixing flange, return, or overlap needed for installation.
Color mismatch can also occur when a project uses materials from different batches or coating systems. Confirm the desired reference early, especially for highly visible cladding elevations. Finally, do not leave quantity calculations until the final procurement stage. Complex corners, roof transitions, and opening details often need more pieces than the main linear runs suggest.
For UAE construction projects, clear flashing specifications also support better site coordination when roofing, cladding, steelwork, and insulation activities overlap. MetalSpan Trading can assist customers with practical material and profile discussions based on submitted drawings and project requirements.
A well-prepared custom flashing order protects more than the building edge. It gives the installation team the parts they need to complete the work cleanly, maintain the intended roof and wall details, and keep the project moving without avoidable corrections.