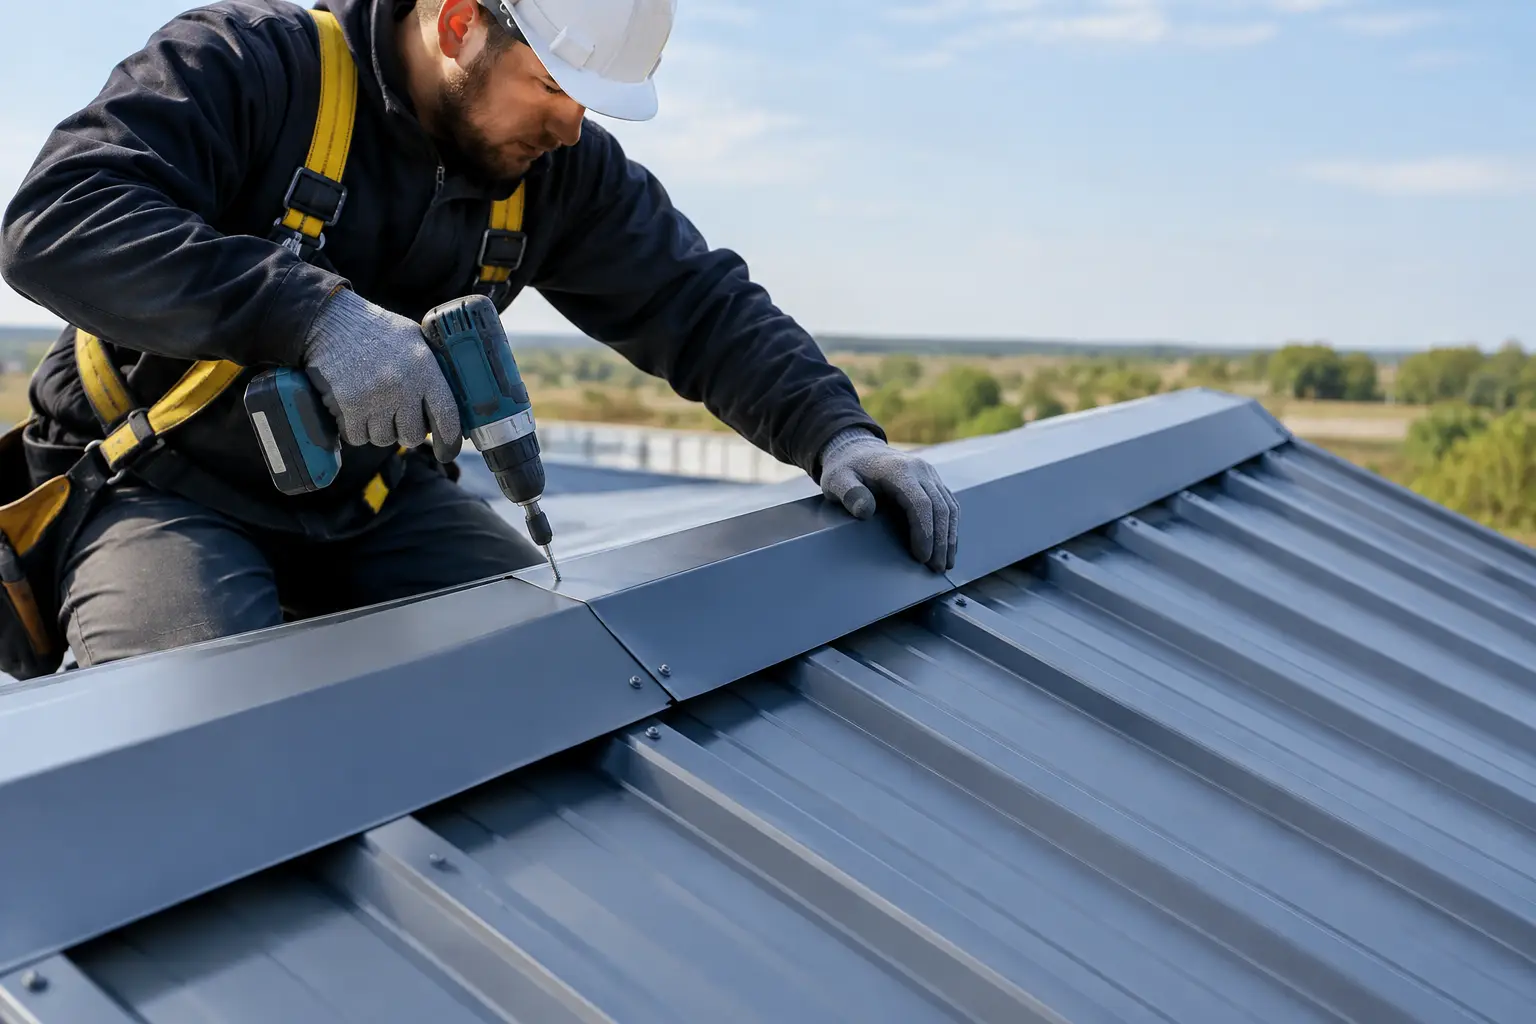
A ridge cap may be one of the smallest visible parts of a metal roof, but it protects one of the roof's most exposed joints. Learning how to install ridge caps correctly helps contractors create a clean finish at the peak while reducing the risk of wind-driven rain, dust, insects, and loose roofing components.
For warehouses, factories, prefab buildings, and commercial structures, ridge cap installation should never be treated as a last-minute cosmetic task. The cap, closure system, fasteners, and roof-sheet profile must work together. A properly selected and fitted ridge detail supports the roof's weather resistance and gives the completed building a professional appearance.
Start With the Correct Ridge Cap and Roof Profile
A ridge cap is the formed metal flashing that covers the point where two roof slopes meet. It bridges the gap between opposing roofing sheets and directs water away from the ridge line. Ridge caps are commonly supplied in coated steel finishes that match or complement the roofing sheets.
Before installation begins, confirm that the ridge cap is suitable for the roof pitch, sheet profile, and required cover width. A cap made for one trapezoidal or corrugated profile may not sit correctly over another. For insulated sandwich panel roofs, the ridge arrangement can also differ from a single-skin sheet roof because panel thickness, joint design, and insulation continuity must be considered.
Check the following before materials are taken to the roof:
- Ridge cap length, shape, coating, and color match the approved roof specification.
- The roofing sheets are fully secured and aligned at the ridge.
- Ridge purlins or supporting steel are positioned according to the roof design.
- Compatible self-drilling fasteners, sealing washers, closure strips, and sealant are available.
- The roof surface is clean, dry, and free from loose metal filings or packaging debris.
Do not force a ridge cap into position if it does not follow the roof profile naturally. This can distort the flashing, create gaps, and damage the coating. It is better to confirm the profile and make an approved adjustment before fixing begins.
Safety and Preparation Come First
Ridge work takes place at the highest point of the roof, where wind exposure and fall risk are significant. Use an appropriate access system, fall-protection equipment, and safe lifting method for long flashing lengths. Avoid installing large ridge caps in strong winds, as they can act like a sail and become difficult to control.
Plan the installation sequence from the leeward end of the roof whenever possible. This means starting on the side opposite the prevailing wind so overlapping pieces face away from the direction most likely to drive rain beneath the joint. On projects in the UAE, wind, airborne dust, and intense sun exposure make careful detailing especially relevant.
Measure the ridge line before cutting any pieces. Although standard lengths are common, roof dimensions, end details, and penetrations often require site trimming. Use tools suitable for coated metal sheets. Cutting methods that create excessive heat or throw abrasive particles can damage the protective finish and may lead to early corrosion at exposed edges.
How to Install Ridge Caps Step by Step
The exact procedure depends on the roof system, but the sequence below applies to many profiled metal roofing installations.
Fit closure strips at the ridge
Closure strips fill the voids created by the shape of profiled roofing sheets. They are commonly made from foam or other suitable materials shaped to match the roof profile. Their purpose is to limit the entry of dust, insects, and wind-driven moisture while supporting a neater ridge detail.
Place the closures consistently along both roof slopes, following the position specified for the sheet profile and ridge cap. If the roof design requires ventilation at the ridge, use the approved ventilated closure or ridge system rather than blocking the opening with standard solid closures. Ventilation requirements depend on the building design, insulation arrangement, and internal use of the facility.
Where sealant is specified, apply it as a continuous, controlled bead. Do not use sealant as a substitute for properly fitting closures or adequate overlaps. Too much sealant can create an untidy finish and make future maintenance more difficult.
Position the first ridge cap
Set the first cap at the chosen starting end of the ridge. Ensure it covers both roof slopes evenly and sits straight with the roof line. The lower edges of the cap should rest securely over the roofing-sheet crowns or designated fixing zones without being pulled out of shape.
Check the cap's alignment before installing all fasteners. A small error at the first piece becomes more visible as additional lengths are installed. On long industrial roofs, use a string line or another suitable reference to maintain a straight ridge line.
Fasten through the approved fixing points
Use compatible self-drilling roofing fasteners with sealing washers. Fasteners should penetrate the roofing sheet and supporting member, or the designated fastening zone, as required by the roof-system design. Follow the approved fastener pattern rather than relying on a generic spacing rule.
Drive each fastener square to the surface. An angled fastener can deform the washer and leave a path for water. Over-tightening is also a common problem: it can crush the washer, dent the ridge cap, and reduce the effectiveness of the seal. The washer should compress enough to seal without being excessively squeezed out from beneath the fastener head.
Fastener quantity and spacing depend on factors such as ridge-cap width, sheet profile, roof location, wind exposure, support arrangement, and project specifications. For this reason, contractors should verify the recommended pattern with the roof-system supplier or project engineer before installation.
Overlap the next cap correctly
Install subsequent ridge-cap sections with the required overlap, maintaining the same direction throughout the roof. The overlap should face away from prevailing weather where practical. Keep the lap clean and flat so water can drain over the upper piece instead of being directed into the joint.
The required overlap length varies by cap profile and project requirements. A short overlap may allow water or dust to enter, while an excessively long overlap can waste material and interfere with layout at the final section. Where specified, place sealant within the overlap before fixing the upper cap in place.
Continue checking alignment as each section is added. Do not wait until the end of the ridge to correct a drifting line. Small adjustments at each overlap are simpler and produce a cleaner finished result.
Finish the ridge ends and transitions
The ridge line often ends at a gable, hip intersection, parapet, or another flashing detail. These locations need the same attention as the main cap run. Fit purpose-made end closures, stop ends, or compatible flashing pieces where required to close exposed openings.
If the ridge meets another roof section or changes direction, avoid making improvised cuts unless the detail has been reviewed. Complex junctions can create concealed water paths. A properly formed transition flashing is usually more reliable than an on-site patch built from offcuts.
Common Ridge Cap Installation Problems
The most frequent issue is inadequate sealing beneath the cap. A ridge cap can look straight and secure while leaving open profile gaps below it. This is why closures and approved sealant details matter, particularly in dusty or wind-exposed locations.
Poor fastener installation is another avoidable problem. Fasteners that are crooked, loose, or over-driven can affect the appearance and weather resistance of the ridge. Inspect every run from a safe vantage point and replace damaged fasteners or washers rather than leaving questionable fixings in place.
Mixed materials also require caution. Using incompatible fasteners, sealants, or flashings can affect coating performance over time. Keep the ridge cap, roof sheets, and accessory system compatible in material type and finish whenever possible.
Finally, do not overlook thermal movement. Long metal components expand and contract as temperatures change. Ridge cap laps and fixing arrangements should follow the system's installation guidance so the flashing can perform without buckling, tearing, or stressing the roof sheets.
Final Inspection Before Handover
Once installation is complete, inspect the ridge from both roof slopes and from ground level. Confirm that caps are straight, overlaps are consistent, fasteners are properly seated, closures are not exposed, and all cut edges or end details are finished appropriately. Remove metal swarf promptly, as loose drilling filings can stain coated roofing sheets when exposed to moisture.
For project teams sourcing roofing sheets, ridge caps, flashings, and compatible accessories, MetalSpan can help match the required materials to the roof profile and project scope. A ridge detail is only as dependable as the care taken in specifying it, fitting it, and checking it before the building goes into service.