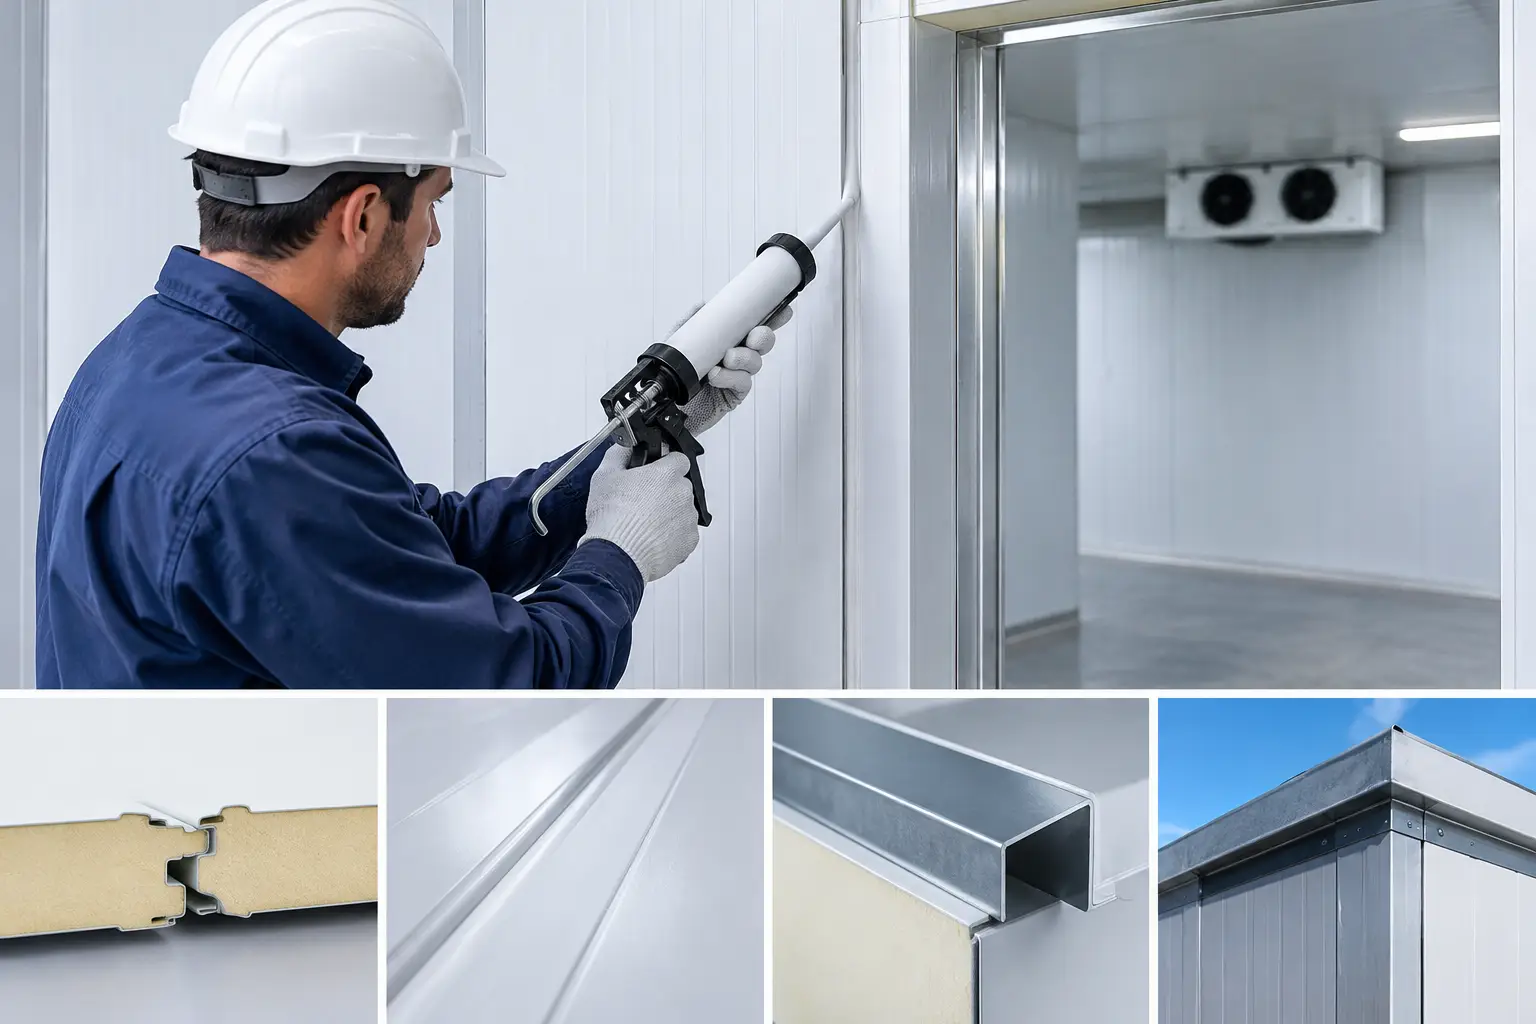
A cold room can have high-quality insulated panels and properly sized refrigeration equipment, yet still waste energy through poorly sealed joints. Small gaps at panel connections, corners, door frames, and service penetrations allow warm, moist air to enter the enclosure. That air raises the refrigeration load and can create condensation, frost, and long-term damage around the building envelope. Selecting the right cold room panel sealing methods is therefore a construction detail with direct operational consequences.
For contractors, project managers, and cold storage operators, the goal is not simply to apply more sealant. It is to create a continuous, durable air and vapor barrier that works with the panel joint design, room temperature, and expected operating conditions.
Why cold room panel sealing methods matter
Cold room panels are designed to form an insulated enclosure, but insulation performance depends on the continuity of every joint. When warm outside air reaches cold internal surfaces, moisture can condense. In freezer applications, that moisture may freeze, expand, and gradually compromise joints, flashings, or adjacent finishes.
A correctly sealed panel system helps limit air infiltration and protects the panel core from unnecessary moisture exposure. It also supports more stable internal temperatures, reduces avoidable strain on refrigeration equipment, and improves cleanliness around joints. These benefits depend on correct materials and installation, not on sealant alone.
The level of sealing required varies by application. A chilled storage room, a deep-freeze room, a food-processing area, and a temperature-controlled warehouse can have different temperature differentials, humidity exposure, cleaning routines, and hygiene requirements. The panel layout and details should reflect those conditions before installation begins.
The main cold room panel sealing methods
Factory-designed panel joint sealing
Many cold room panels use interlocking tongue-and-groove, cam-lock, or similarly profiled joints. These joint designs align the panels and create a controlled space for sealing materials. Depending on the panel system, the joint may incorporate a gasket, butyl-based tape, or site-applied sealant to close the air path.
This approach is effective when the panels are installed square, fully engaged, and supported correctly. An interlocking joint cannot compensate for panels that are forced out of alignment or cut inaccurately. Installers should inspect the full joint line during assembly rather than relying on a final external bead of sealant to cover gaps.
Joint sealing should be continuous. A short unsealed section near a corner or ceiling connection can become a path for warm air movement. This is especially relevant where long wall runs meet roof panels or where panel lengths change across a room layout.
Butyl tape and gasket sealing
Butyl tape is commonly used where a compressible, non-hardening seal is needed between panel faces, trims, flashings, and supporting details. It can remain flexible and accommodate minor movement when correctly selected and installed. Gaskets can provide a similar function within compatible panel joint systems.
Surface preparation is critical. The contact area should be clean, dry, and free from dust, oil, moisture, and loose protective film. Tape must be positioned consistently so it is compressed when the panels or accessories are fixed in place. A tape that is stretched, interrupted, or installed over contamination may leave channels for air and moisture.
Butyl tape is often appropriate for concealed interfaces, while exposed locations may require a compatible finishing sealant. The two materials should be considered as part of one joint detail, not as interchangeable products.
Site-applied sealant at exposed joints
Flexible sealants are commonly applied at internal corners, external corners, panel-to-floor lines, door surrounds, and around service openings. Their role is to close visible gaps and maintain a clean, finished surface. In hygienic cold storage areas, smooth and continuous sealant lines also make routine cleaning easier.
The correct sealant depends on the location, expected movement, temperature range, substrate, and cleaning conditions. A sealant suitable for an internal wall-to-wall joint may not be suitable for a floor connection exposed to traffic, washdown, or repeated thermal movement. Compatibility with the panel coating, trims, tapes, and adjacent materials should always be checked.
Sealant application requires controlled bead size and proper tooling. An oversized bead can look untidy and may not bond correctly. An undersized bead may split or pull away as materials move. The objective is a fully bonded, continuous seal with no pinholes, skipped areas, or thin spots at the edges.
Flashings and corner accessories
Corners, ceiling edges, wall-to-floor transitions, and panel terminations are often the most vulnerable parts of a cold room envelope. Purpose-made internal and external corner flashings help cover these transitions while providing a stable surface for sealing.
Accessories should fit the panel thickness and joint geometry. Forcing a poorly matched flashing into position can leave uneven contact areas and make sealing difficult. Where flashings overlap, the overlap direction and sealant placement should prevent water, cleaning fluids, or moist air from tracking behind the accessory.
MetalSpan supplies cold room panels and associated sandwich panel accessories that can help contractors coordinate panel connections, flashings, and finishing details as part of the same material package. Confirming the required panel thicknesses, room layout, and connection details before procurement helps avoid unsuitable site modifications later.
Sealing around doors and service penetrations
Door openings, refrigeration pipe sleeves, electrical conduits, drains, and cable routes need close attention. These locations interrupt the panel envelope and should be planned before panels are installed wherever possible. Cutting openings after completion is sometimes necessary, but it increases the need for accurate trimming, insulated closures, and careful perimeter sealing.
Door frames should be securely fixed, aligned, and sealed continuously to the panel face or opening return. A cold room door that does not close evenly can defeat otherwise sound wall-panel sealing. Similarly, pipe penetrations should be sealed around the full circumference, with suitable allowance for movement or vibration where required.
Avoid leaving oversized holes around services and filling them only with surface sealant. The opening should be properly finished and insulated so the detail does not become a thermal bridge or a recurring condensation point.
Installation practices that determine the result
Good sealing begins before the first panel is lifted. The slab, base channel, support steel, and framing should be level and correctly positioned. If the starting line is out of level, panel joints may progressively open or become difficult to engage as the installation continues.
Installers should remove protective film only as needed and keep panel edges protected from damage. Dented edges, crushed joint profiles, and scratched coated surfaces can affect fit and create difficult sealing repairs. Panels should be cut with suitable tools to achieve straight, clean edges, particularly around openings and end closures.
A practical inspection should take place during installation, not only after the room is complete. Check that joint materials are continuous, cam-locks or other joint mechanisms are fully engaged where applicable, flashings sit correctly, and sealant lines are intact. Rework is simpler before equipment, shelving, and refrigeration services are installed.
Common sealing failures and how to avoid them
The most frequent problem is discontinuity. A joint may look sealed from the room interior while the vapor barrier is interrupted behind a flashing, at a panel end, or around a service opening. Another common issue is using a general-purpose sealant without considering low temperatures, moisture, movement, or panel coating compatibility.
Rushed installation also causes problems. Panels that are not aligned before locking, tapes applied to damp surfaces, and sealant installed over dust or protective-film residue can all reduce bond quality. In humid Gulf conditions, material handling and surface cleanliness deserve particular attention, especially when panels are stored or installed outdoors before enclosure is complete.
Regular maintenance is equally useful. Door gaskets, perimeter seals, corner joints, and penetration details should be inspected for cracking, detachment, staining, or frost formation. Frost near a joint is not always caused by panel failure, but it is a useful signal that air leakage or insulation continuity should be investigated.
Selecting materials for the project
The best sealing detail is one that matches the complete cold room system. Consider the room temperature, internal humidity, washdown exposure, panel type, joint profile, floor connection, door details, and number of service penetrations. Procurement decisions should also account for compatible trims, flashings, tapes, and sealants rather than treating them as minor afterthoughts.
For complex cold stores, ask the design team and installation contractor to review joint details before materials reach the site. A clear panel layout and accessory schedule can reduce cutting waste, avoid missing components, and support a cleaner installation sequence. Careful sealing is a small part of the overall build cost, but it has a lasting influence on how efficiently and reliably the cold room operates.